Zuletzt aktualisiert | last modified: 7. April 2024
Startseite | English | The ElliptiGO MSUB | Suspension fork maintenance

Inhalt | Content
The Spinner fork
A suspension fork from Spinner is installed in my – and probably in all others – ElliptiGO MSUB. The maintenance of the suspension fork (major fork service) is explained below.
As ElliptiGO informed me, it is a fork developed especially for the MSUB and is technically based on Spinner’s 300 series (SP300 650B). But it doesn’t have exactly the same parts everywhere.
You can find an operation manual on the Spinner website where the maintenance intervals are mentioned.
The fork manufacturer is obviously not really common in Europe, especially in Germany. There are hardly any offers or special spare parts available. According to some forum entries, there is someone in Poland who can help and Spinner’s Facebook page also leads to an address in Poland.
However, the seals that need to be changed when servicing the fork (O-rings and one X-ring) are commercially available and easy to obtain in Germany.
Spinner apparently likes to use photo albums on Facebook (hereinafter referred to as “picture book”) for maintenance instructions. I was pointed to the picture book of a Spinner AERIS 650B, which is a slightly higher quality model than the 300 series forks but has basically the same design.
I was also provided with an exploded view and data sheets for the sealing rings. For copyright reasons, I am not publishing them here.
Consumables
Below are the details of the sealing rings I replaced. I purchased them from a German retailer who delivers very quickly, in small quantities and worldwide. The numbers in brackets refer to the information in the exploded view and are not necessarily relevant. What is important is the correct size and that the rings are made of nitrile rubber (NBR). I took all of them with the standard hardness HDA 70. Some seals were supposed to be HDA 60 according to the data sheet, but this hardness was not available. In practice, I have not noticed any negative effects in this regard so far.
- Upper tube damper side lid (Nr. 35): O-Ring 23.0×2.0 mm…
- Upper tube damper side under the compression adjuster knob (Nr. 32): O-Ring 7.8×1.9 mm. The ring is thicker than the original at 1.3 mm, which was not on offer, but it still fits. However, you have to press the locking ring in a little harder and the screw is a little tighter, but it shouldn’t be able to adjust itself…
- Upper tube air spring side lid (Nr. 4): O-Ring 24.5 x 2.0 mm (also slightly thicker than the original at 1.9 mm, but fits perfectly)…
- Upper tube air spring side piston seal (Nr. 7): X-Ring 18.64×3.53 mm…
The lubricants I use are:
- Spray grease: the Caramba high-performance grease with PTFE shown in the picture book (I also use it for the O-rings)
- Fork oil: Hanseline fork oil SAE 5
- Grease (spring of the piston and dust wiper of the lower legs): commercially available long-term grease
Work steps
Fork maintenance is very easy to do yourself with a little skill. The picture book serves as a good basis, but there are some differences from the MSUB fork. I explain these below.
Preparation
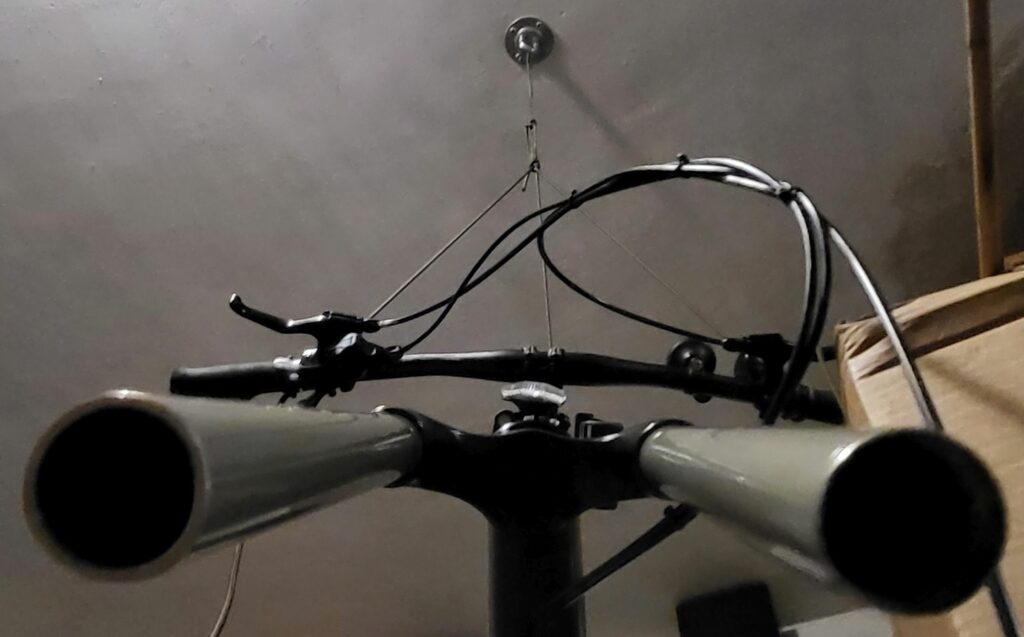
Removing the MSUB fork is not that easy compared to a traditional bike. I left them installed. Maintenance can be carried out very easily if the bike lies on its left side with the handlebars removed…

It is even easier if you pull the MSUB up with a rope attached to the handlebars…
Before starting work, the front wheel, any mudguards and the disc brake have to be removed.
Disassembling
Lower fork unit
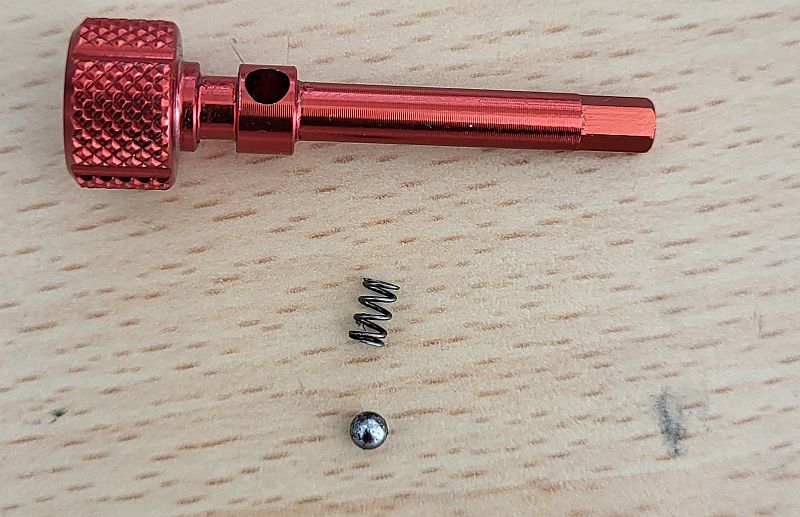
First, after removing the grub screw with a suitable Allen key, pull out the red adjustment screw for the rebound. Care should be taken to ensure that the grub screw, ball (4 mm diameter) and the small spring do not jump out and disappear…
Then the two fastening screws of the lower fork unit are unscrewed using suitable Allen keys and the unit is pulled off.
The two spring washers on the dust wiper seals should be removed carefully so that they do not come loose or become damaged during cleaning. This step is not shown in the picture book.

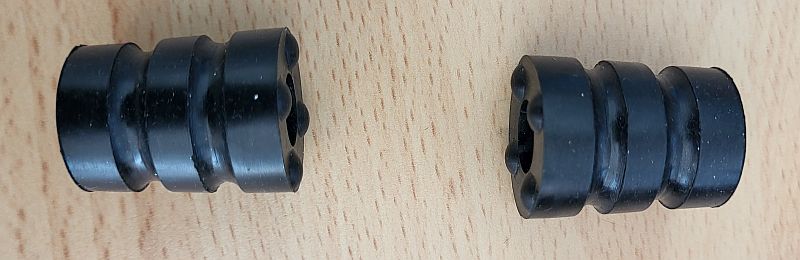
Both rubber bumpers are pulled off the air piston shaft. If they are missing, they are probably stuck in the lower tube.
Damper module
Since the MSUB does not offer any adjustment options on the handlebars, the remote control component can be ignored. You just unscrew the blue adjustment lever, and you can immediately see the locking ring. This is removed with spring ring pliers. I do this – contrary to the order in the picture book – before removing the damper module. The adjusting screw can now be easily removed.
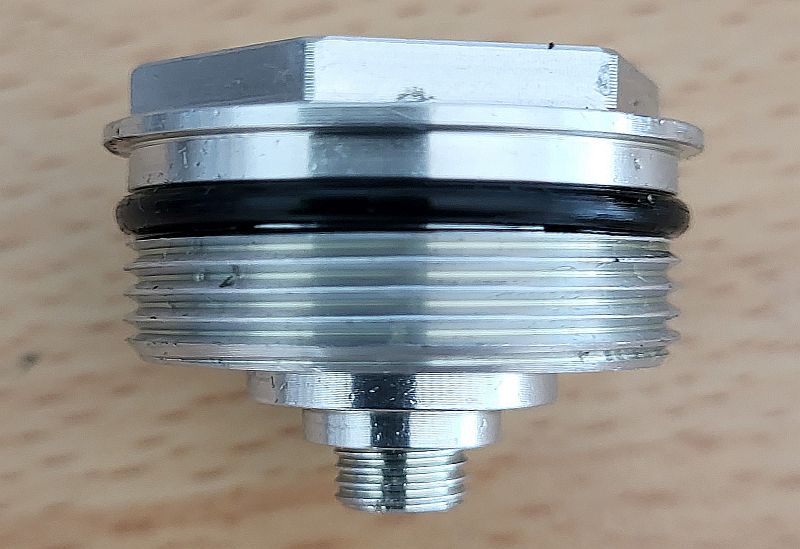
Afterward, the damper module is unscrewed using a size 24 wrench. It consists of a closed component that – apart from perhaps a little spray grease in the area of the adjusting screw, as shown in the picture book – does not need to be maintained…

I couldn’t understand why the module was clamped in the vice and what was supposed to be achieved with the Allen keys. I left out that step.
Air spring piston
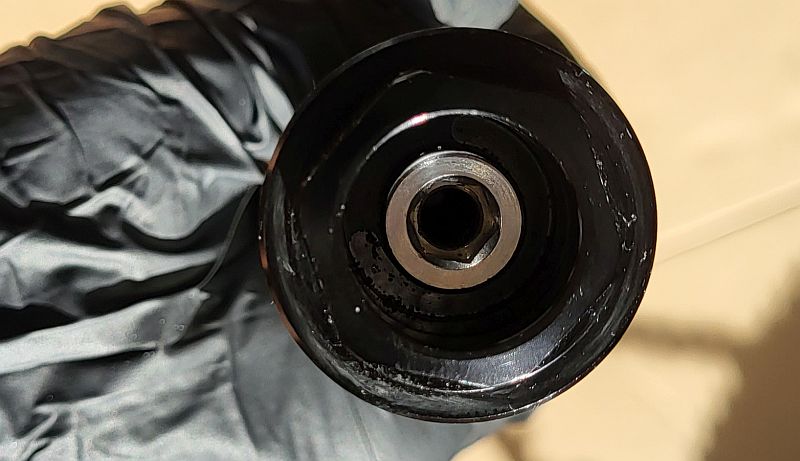
On the air spring side, remove the dust cover of the air valve and let the air out – don’t forget! The air valve nut is then unscrewed using a size 21 wrench.
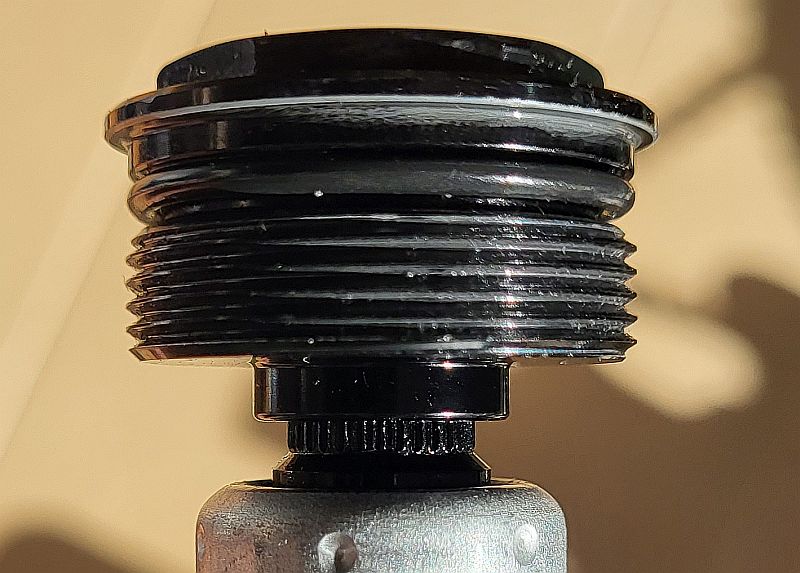
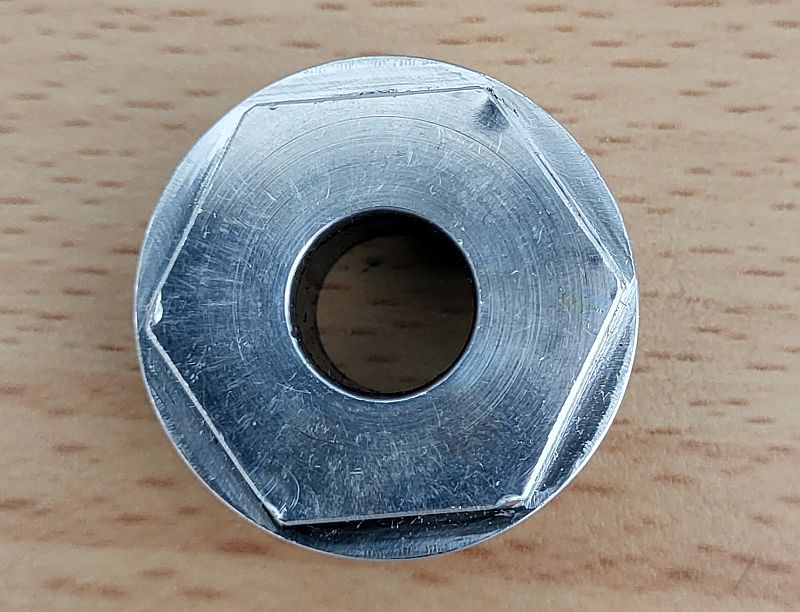
The piston on this fork has an upper stop, so it must be removed downwards and reinstalled from below. To remove it, unscrew the guide nut on the bottom of the upper tube…
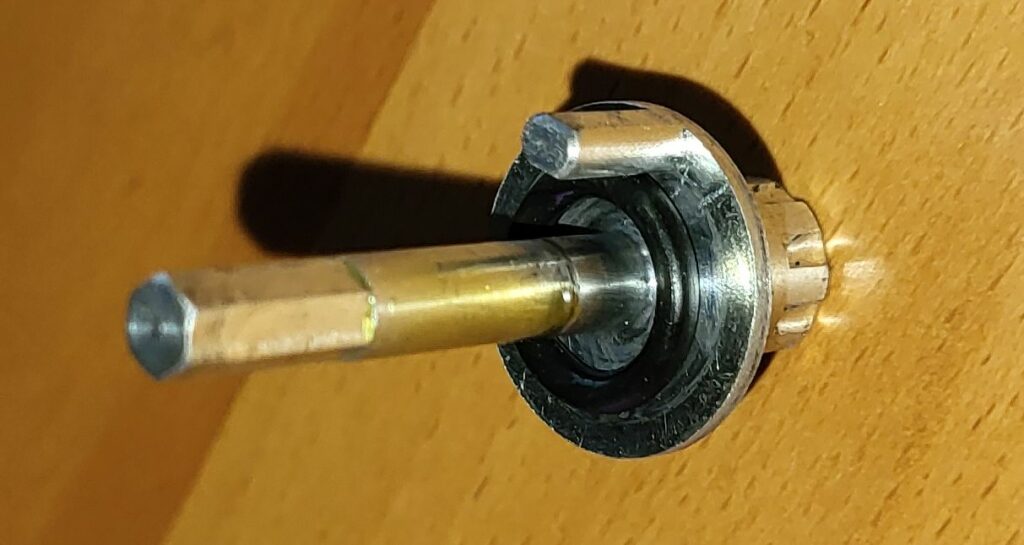
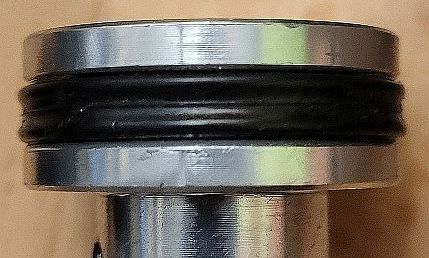
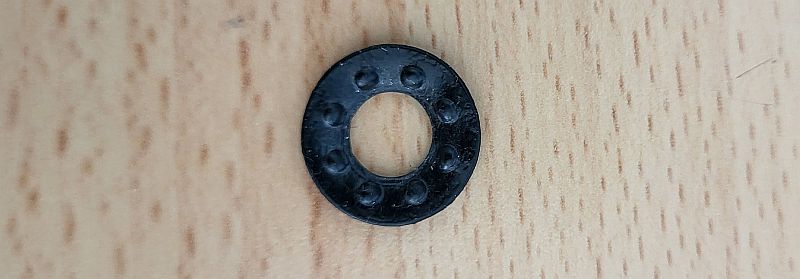
According to the pictures, the fork should have an O-ring on the piston and, according to the exploded view, a „washer“. In fact, the MSUB fork has a single X-ring installed…

When removing the piston unit, make sure that the rubber washer (on the left of the spring in the picture above) is not lost…
The piston unit can be further disassembled for cleaning if necessary. But I don’t usually do that.
Cleaning
All parts are cleaned as best as possible with cloths. The four rings to be replaced should be removed, and in particular the surfaces of the upper tubes (outside and inside) should not be scratched. If necessary, you can use a special degreaser. I prefer to do it without so that the surfaces are not damaged.
Assembling
Adjustment aid
I recommend attaching a suitable O-ring to one of the upper tubes when the fork is disassembled. This makes fine adjustment of the fork easier…

Damper module
After a new O-ring has been attached, the damper module is first installed again.
After installing and screwing the damper – before inserting the adjusting screw – you should use a suitable Allen key to bring the adjustment into a position that it can move into the usual range after inserting the adjusting screw. This is shown in the photos in the picture book further back before the adjusting screw is reinstalled. If you look closely, you can see the guide groove between twelve and nine o’clock…
… in which the pin of the adjusting screw can move…
The picture book doesn’t mention that the smallest of the O-rings has to be placed under the adjusting screw before it is inserted and fixed with the locking ring.
The remote control component is left out when assembling. If the adjustment screw moves as desired, the blue adjustment lever can be screwed and that’s it.
Air spring piston
The rubber washer is placed back onto the piston shaft and the piston unit is greased.
The newly installed X-ring of the piston is dipped in some fork oil, the piston unit is pushed into the upper tube from below and the guide nut is screwed tight.
Pour some fork oil into the standpipe from above and screw the air valve nut with a renewed seal ring.
Now the fork is inflated, the piston shaft should be pushed out, and the fork should then maintain the pressure.
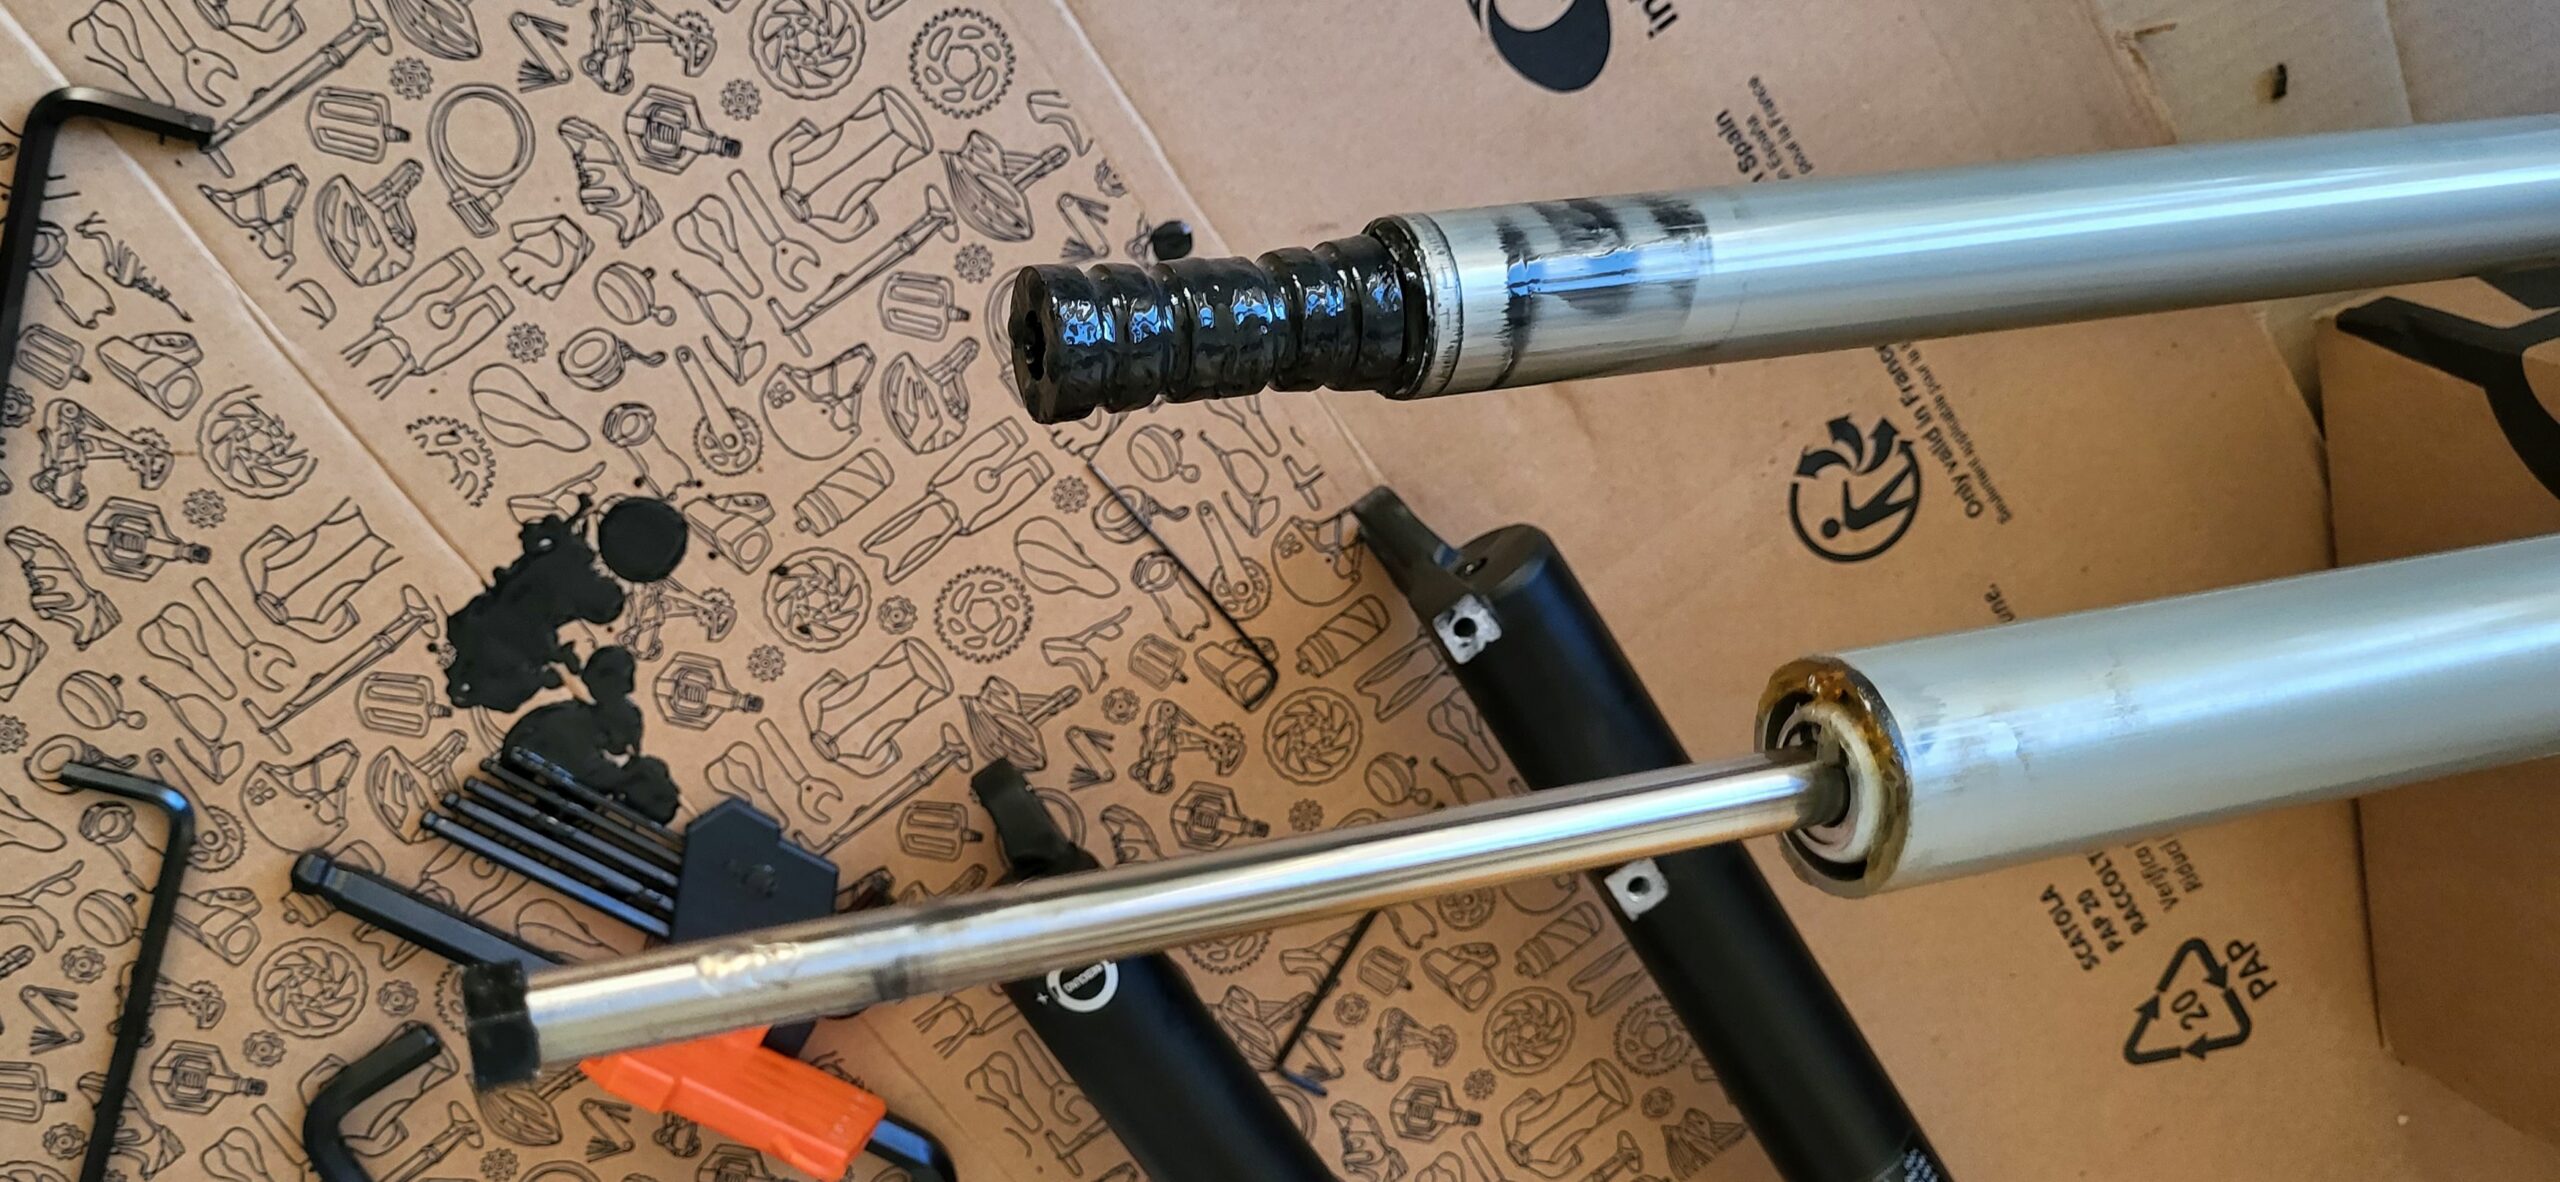
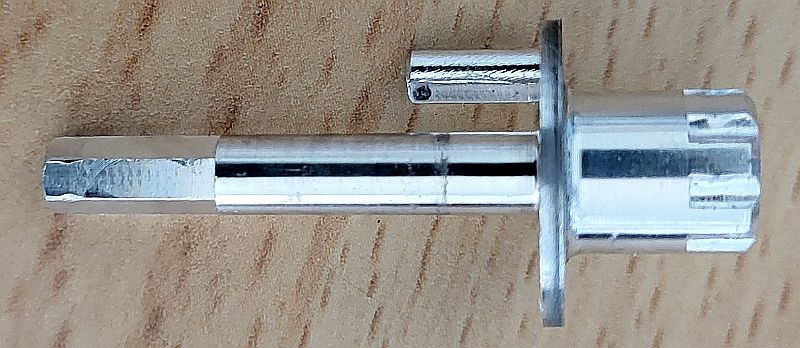
The two rubber buffers are identical on the MSUB fork and, after applying a little grease, are attached to the piston shaft so that the thinner sides face each other (see cover photo of this article).
Lower fork unit
I don’t know where the two „washers“ that are greased in the orange bowl come from. They are probably placed on or in the dust wipers of the lower legs. I didn’t find them at the MSUB and greased the wiper seals as shown in the picture book.
The two spring washers must be reattached to the dust wipers before assembling the two fork parts.
If nothing has been forgotten, the lower fork unit can be pushed on and screwed tight.
Finally, the red adjustment screw is inserted again. You have to carefully press down on the ball on the spring so that it can be inserted and doesn’t jump out.
The grub screw is screwed back in to fix the adjustment screw, and the entire fork is then cleaned again with a cloth.
After the brake and front wheel are installed, functional checks and fine adjustments can be carried out during a test ride.
Startseite | English | The ElliptiGO MSUB | Suspension fork maintenance
Please note…
| (Bike) ohne Sattel [without a settle] is a private, non-commercial project that has no connection to manufacturers, importers or dealers. I am a user only. This website is of German origin and subject to the relevant German legal framework. The use of my hints, instructions and recommendations is at your own risk, I assume no guarantee or liability for this! Each user is responsible for complying with the relevant local technical and traffic regulations! |
| Copyright © Jens-Peter Stern | (Bike) ohne Sattel | ohnesattel.de | laufsterne.de |